This tutorial will walk you through setting up a transparent proxy on a Fortinet Firewall running v6.x code. This tutorial was written on v6.0.1.
Why would you want to do this? Straight from the Fortinet Cookbook here, https://cookbook.fortinet.com/transparent-web-proxy-56/:
“With the transparent web proxy, you can forward your user’s web traffic to the proxy without requiring your users to reconfigure their browsers or without needing to publish a proxy auto-configuration (PAC) file.”
There are a couple of differences in the instructions from v5.6 to v6.0.1 so the intent of this post is to provide an updated Cookbook article.
First off, make sure the FortiGate is in Proxy mode.
Go to System -> Settings and scroll down to the bottom.
Under the System Operations Settings section, select Proxy where it lists the Inspection Mode: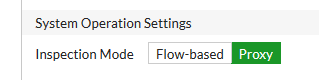
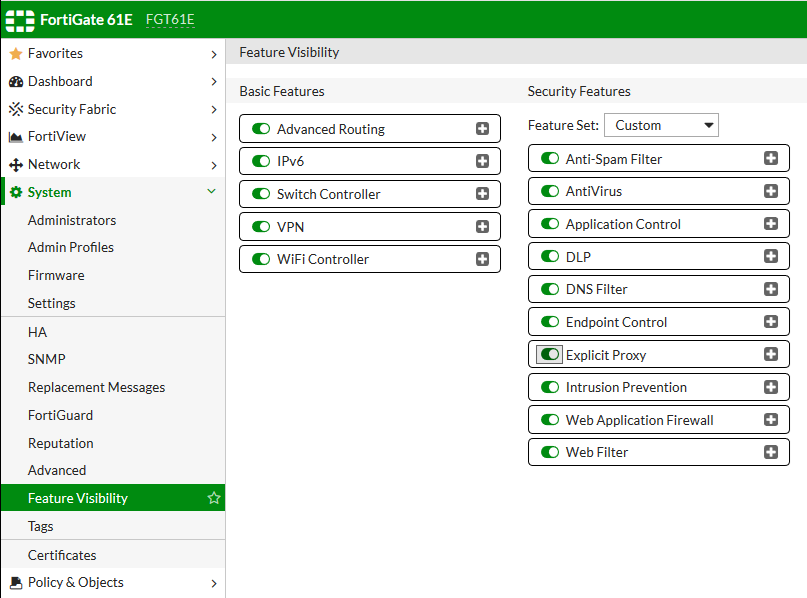
Now, enable Explicit Proxy under Feature Visibility:
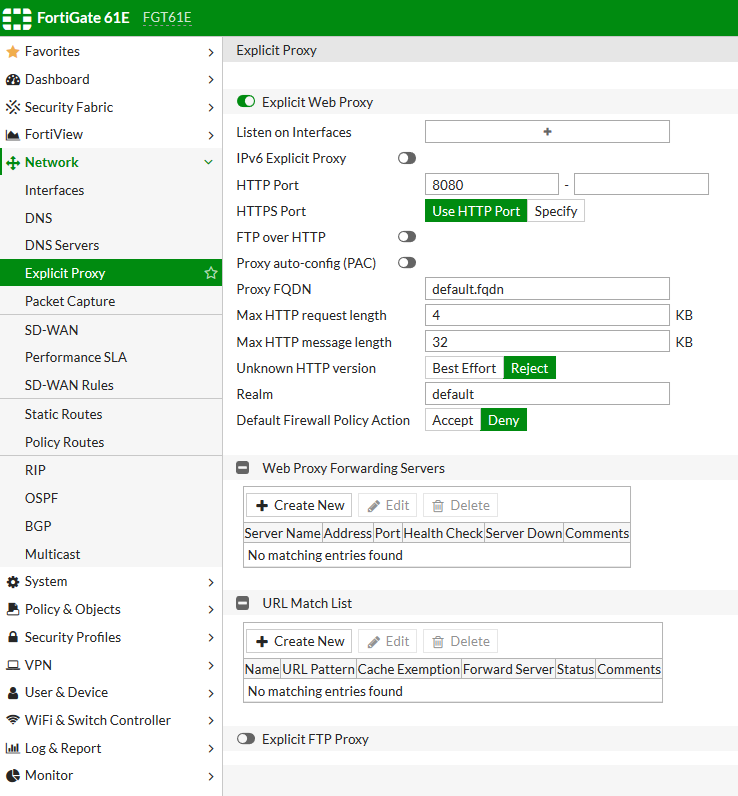
Enable Explicit Proxy under the Network section. You don’t need to make any other changes on this page at this time.
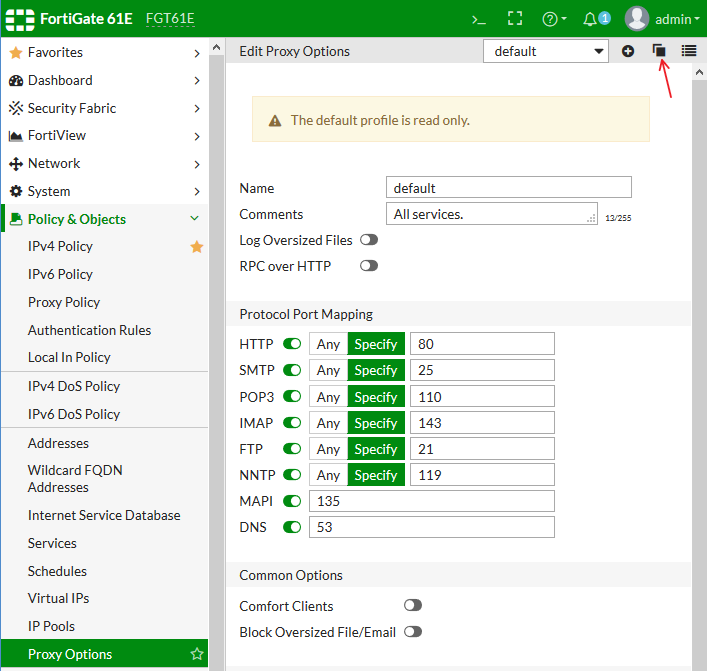
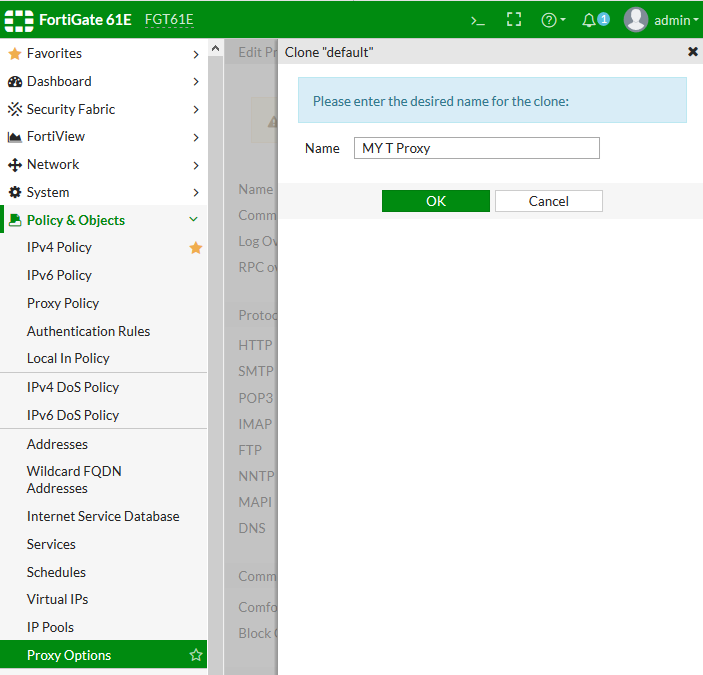
I like to make a copy of the default policies and then modify those. Let’s make a copy of the Proxy Options Profile under Policy & Objects, by clicking on the copy icon on the top bar:
Name your profile:
Now we are going to enable HTTP Policy Redirect on our newly created Profile – that is the important one. Comfort Clients will allow a trickle of traffic while files are analyzed to help prevent failures on the client side.

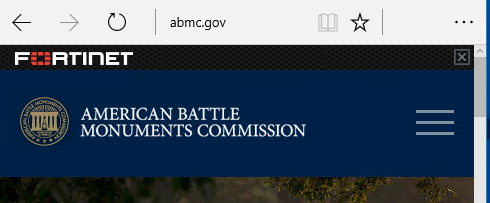
If you also select the Add Fortinet Bar, this will inject a small header into the website. This is what it looks like:
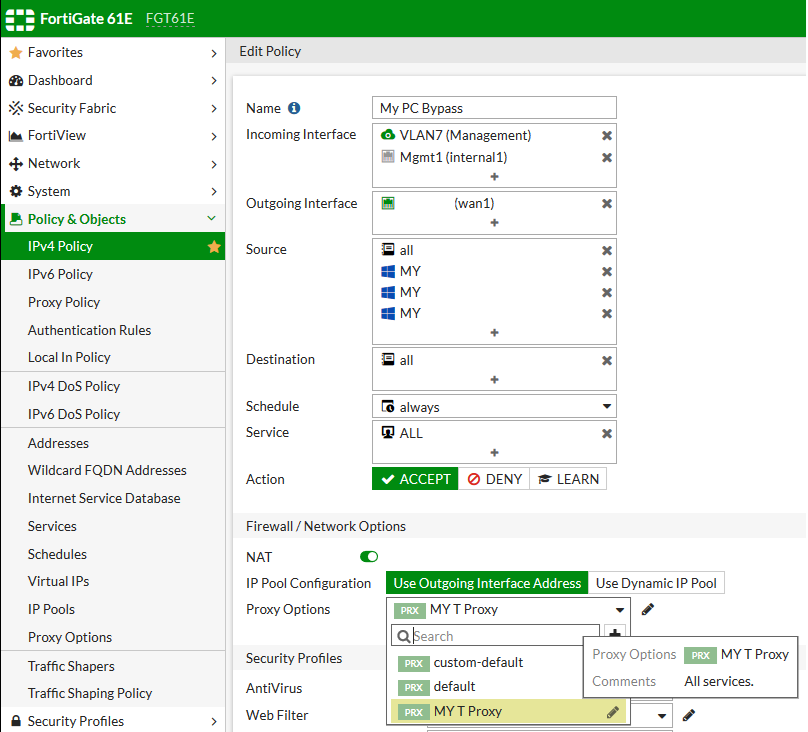
Now we will want to create or modify a policy controlling the traffic we want to apply our Transparent Proxy to. Select your Proxy from the drop-down, then apply the security profiles you want.
Now, go to FortiView -> Policies and Right click on the Policy you enabled your Transparent Proxy on then click Drill Down to Details. You can see traffic flowing through this policy!
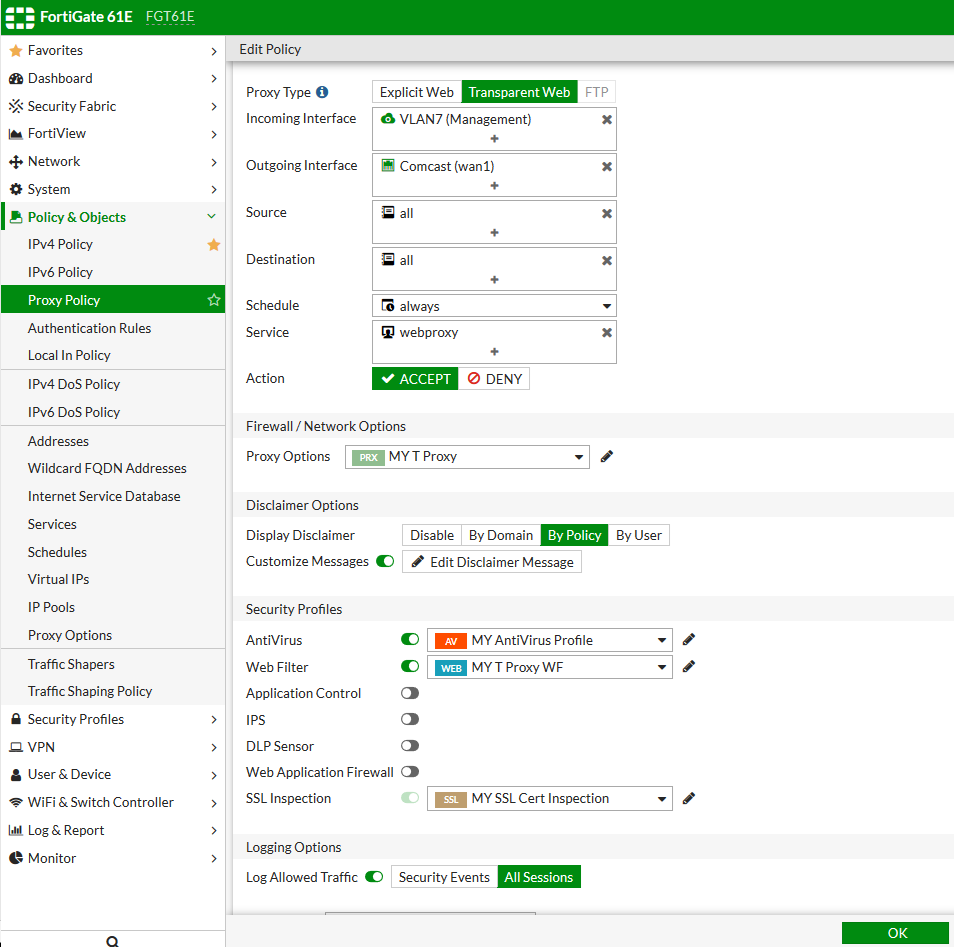
All other traffic as defined in your Proxy Options Policy will now flow through a new Policy called the Proxy Policy. Click on Proxy Policy and then hit the + Sign to Create a New Policy. First change the type to Transparent Web. Make sure that the service that is selected is “webproxy” and add a Disclaimer if you want.
As per 6.2.0 you have to enable http redirect
# config firewall policy
# edit – number – you internet IPv4 transparent proxy policy
# set http-policy-redirect enable
https://docs.fortinet.com/document/fortigate/6.2.0/cookbook/15908/transparent-proxy